How to Create a DIY Hidden Litter Box Furniture
Cats are fabulous companions, but their litter boxes? Not so lovely. If you’re tired of seeing a clunky plastic box in the middle of your home, you’re not alone. Thankfully, hidden litter box ideas are more stylish and practical than ever. With creativity and basic DIY skills, you can turn everyday furniture into a discreet litter station you and your cat will love. This guide will walk you through building your DIY cat furniture to create a chic, functional, and odour-managed space.
Why Hidden Litter Box Furniture Matters

Litter boxes are essential, but don’t need to be an eyesore. Stylish cat box solutions blend seamlessly with your interior decor while giving your feline friend a clean and private place to do their business.
DIY hidden litter furniture also helps:
- Reduce odour and litter mess
- Save space in smaller homes or flats
- Improve the overall aesthetic of your living space
- Provide more privacy for sensitive or shy cats
Pro Tips: Consider an odour-absorbing litter or natural deodoriser like baking soda.
Quick Guide: DIY Hidden Litter Box Build
Tools You’ll Need:
- Drill & screws
- Jigsaw or circular saw (if modifying furniture)
- Measuring tape
- Sandpaper or an electric sander
- Wood filler (if needed)
- Paint or stain (optional)
Materials You’ll Need:
- Preloved cabinet, side table, or storage bench
- Cat flap or soft entry curtain
- Litter tray
- Liner (optional, e.g., peel-and-stick tile, vinyl mat)
- Ventilation grille or carbon filter (optional)
Steps Overview:
- Choose and prep your furniture base
- Cut an entry hole
- Add internal lining or protection
- Install entry and ventilation components
- Paint, decorate, and personalise
- Place the litter tray inside and test
Important Note: Do not choose small furniture for your cat, as it might compromise their comfort.
Step-by-Step DIY Hidden Litter Box Furniture Guide
1. Choose the Right Furniture
Pick something with ample space for a litter tray and room for your cat to turn around comfortably. Sideboards, bedside tables, cube shelves, or storage benches work brilliantly. Opt for second-hand finds to keep the budget low and eco-friendliness high.
2. Measure and Cut the Entry
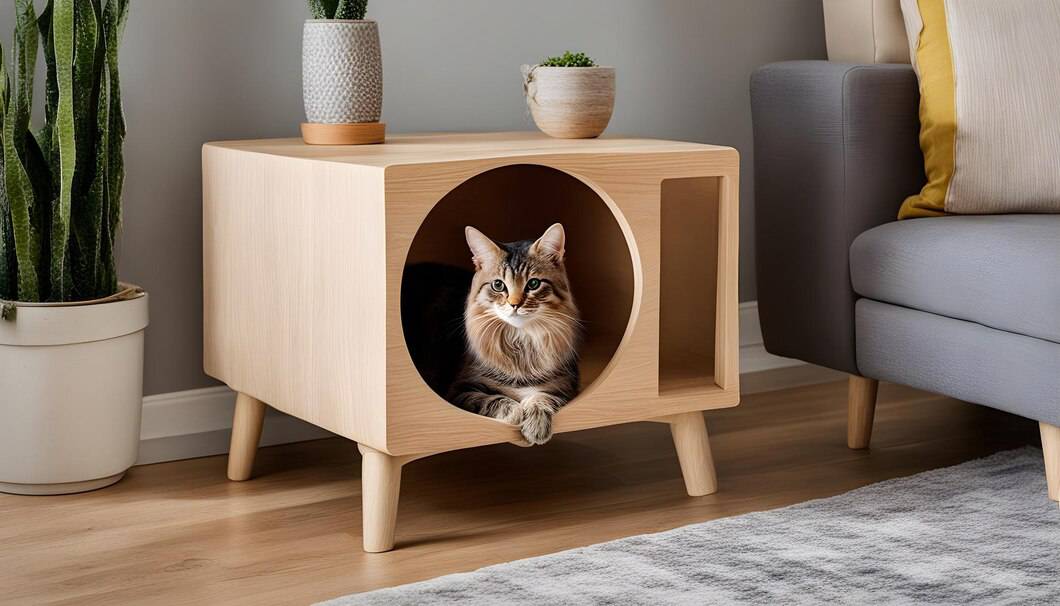
Mark an opening on the side, front, or top—whichever offers easy access. The hole should be 6–8 inches high and wide enough for your cat. Smooth the edges with sandpaper to avoid splinters.
3. Line the Interior
Use waterproof liners, peel-and-stick tiles, or a washable mat. This protects the furniture from moisture and makes cleaning easier.
4. Ventilation and Odour Control
Drill small holes at the back and insert a grille or charcoal filter. Good airflow helps reduce smells and keeps things fresh.
5. Add Finishing Touches
Paint or stain your furniture to match your home style. Add a soft curtain for entry or even a pet-safe cat flap for extra privacy.
6. Assemble and Test
Place the litter tray inside and ensure your cat can get in and out comfortably. Monitor the space for a few days and tweak as needed.
Best Practices & Extra Ideas
- Multi-cat homes: Create separate entries or dividers to reduce territory disputes.
- Eco tip: Use non-toxic paint or sealant for cat safety.
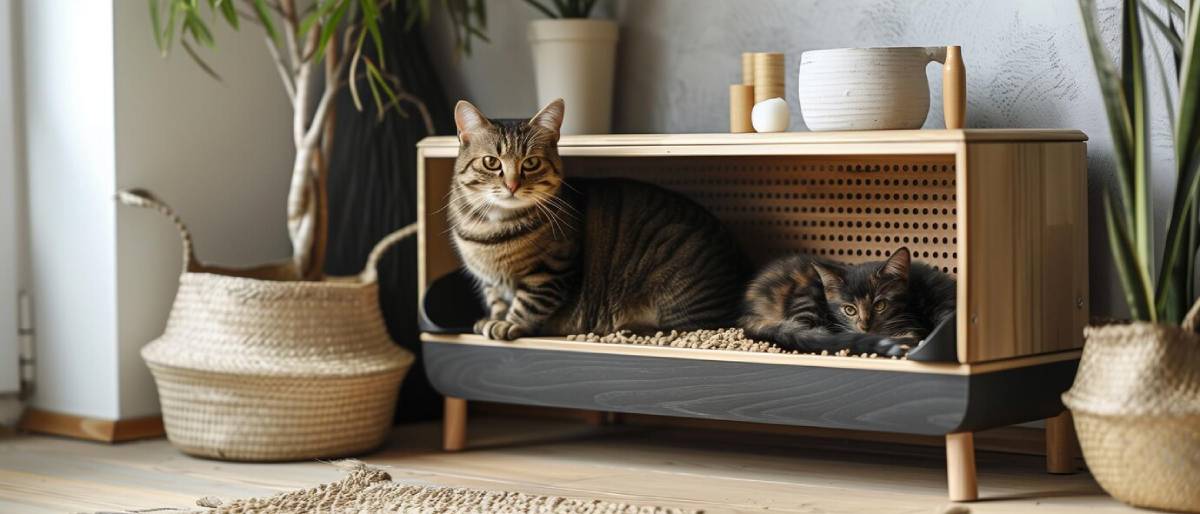
- Decor inspiration: Coordinate the piece with your living room set or disguise it as a plant stand or side table.
FAQs
Q: Can I Use Plastic Furniture For This Diy Project?
Yes, but make sure it’s sturdy and well-ventilated. Wood tends to be easier to customise.
Q: What If My Cat Doesn’t Use The Hidden Litter Box?
Try placing their old box nearby first. Gradually introduce the new setup with treats and gentle encouragement.
Q: How Do I Clean The Furniture Inside The Box?
Choose designs that allow top or front opening for easy access. Wipe down interiors regularly with pet-safe cleaner.
Advanced Design Ideas & Customisation Tips

Once you’ve mastered the basic build, consider levelling up your project with thoughtful design upgrades that make your hidden litter box more functional and stylish.
1. Add a Storage Compartment:
Convert unused space above or beside the litter area into a compartment for storing litter, scoops, liners, and cleaning supplies. Use small baskets or pull-out drawers to keep everything organised and discreetly hidden.
2. Incorporate Dual-Purpose Furniture:
Maximise your space by combining functions. Use your DIY litter box cabinet as a hallway bench, a bathroom console, or a nightstand. Simply ensure any cushion or décor placed on top doesn’t interfere with airflow or access.
3. Build in a Litter Mat Zone:
Add a built-in litter-catching mat at the entry point inside the furniture. This reduces the spread of litter throughout your home and improves overall cleanliness. You can use a plastic mat, grooved rubber liner, or an artificial turf patch for easy shake-out and washability.
4. Add Interior Lighting (Optional):
For dark or enclosed builds, motion-sensor LED puck lights can help your cat feel more secure while also assisting you during cleaning. Ensure all wiring is safe and inaccessible to your pet.
Safety Considerations for DIY Builds
While aesthetics are important, your cat’s comfort and safety must always come first.
Here are several critical points to keep in mind:
- Non-Toxic Materials: Use VOC-free paints, stains, and sealants that are labelled safe for pets. Avoid finishes that contain strong solvents or chemical odours.
- Secure Construction: All panels should be tightly secured, especially if the piece doubles as seating or is in a high-traffic area. Reinforce weak joints with brackets or corner braces.
- Ventilation Gaps: While filters help, ensure that at least one passive ventilation opening is included in your design, preferably in a location that won’t face a wall.
- Smooth Surfaces: Thoroughly sand all entry and interior edges. Cats can be sensitive to small splinters or rough spots, especially on their paws and faces.
Eco-Friendly Options
For the sustainability-minded DIYer, here are a few ways to build responsibly:
- Upcycle Old Furniture: Breathe new life into outdated cabinets, sideboards, or broken dressers. Local thrift shops or online marketplaces often have suitable items at a low cost.
- Use Reclaimed Wood: Consider using salvaged wood or FSC-certified timber if building from scratch. These options reduce waste and environmental impact.
- Opt for Biodegradable Liners: Replace plastic mats or vinyl liners with washable fabric liners made from natural fibres, or explore compostable tray inserts.
Hidden Litter Box Ideas for Small Spaces
Living in a flat or compact home? These design tweaks can help:
- Vertical Builds: Consider building up instead of out. A tall, narrow cabinet can house the litter box at the bottom and storage above.
- Corner Units: To maximise floor space, tuck furniture into underused corners or awkward nooks. Triangular shelving units can be adapted for this.
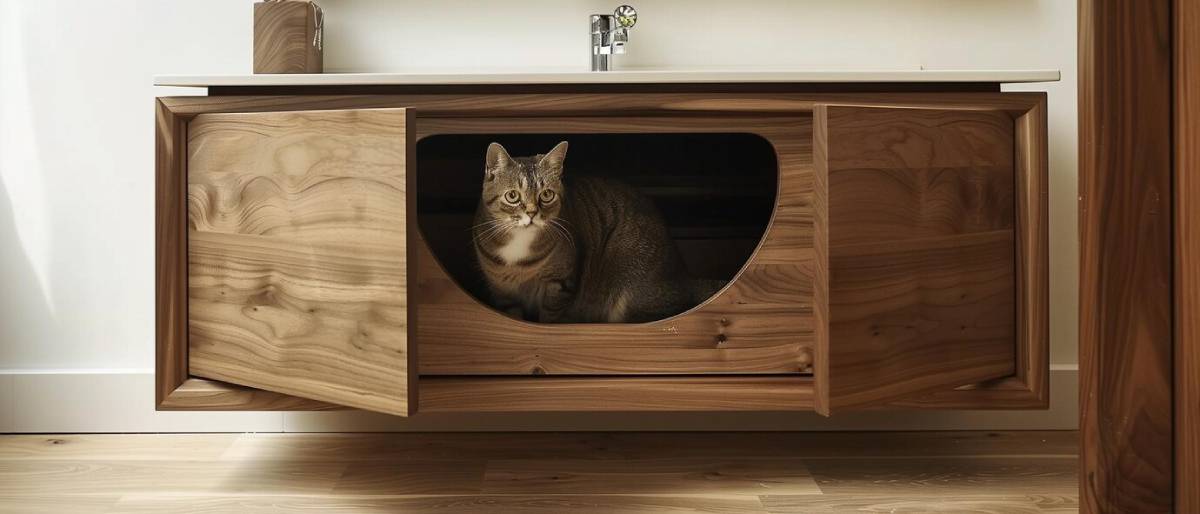
- Under-Sink Cabinets: If plumbing allows, a bathroom cabinet with a side cut-out entry can make a discreet and odour-managed solution.
Bringing Style and Function Together: Your DIY Litter Box Solution

Stylish litter box solutions are within reach—even on a budget. With some DIY flair, you can transform bland boxes into chic cat furniture that complements your home. Try one of these hidden litter box ideas and create a clean, comfortable space your cat will adore.
Ready to start your build? Share your finished furniture with us, or browse our blog for more DIY cat care tips!


